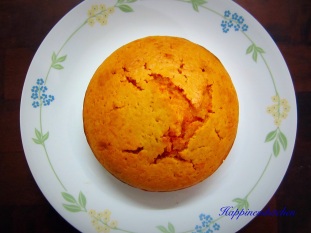
Pineapple cake with lemon glaze

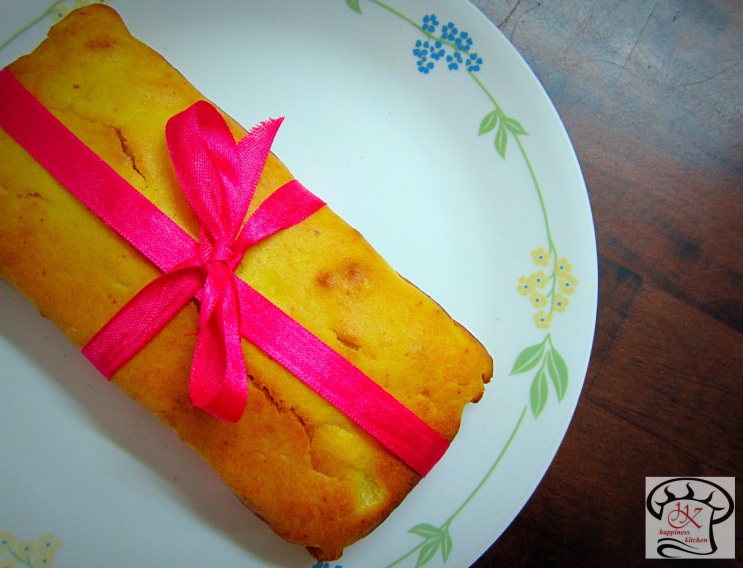
image

How many of you like the idea of giving personalized gifts to your loved ones. I love giving personalized gifts. White there are many options to choose from, home-cooked goodies are my favourite gift items. A nice, healthy, home-baked cake is something that everyone will love for a gift.

Unfortunately, in this busy schedule, few of us get time to make, or even think of such gifts, and we end up buying sugar-laden sweets, pastries and muffins from stores. To solve this problem, I am presenting a very simple and yet extremely delicious pineapple cake that you can make in jiffy. This cake will not only win your loved ones’ hearts, it will also make you a pro-baker 😀

So, let’s start. This recipe makes an 8-inch long tea-cake.

Ingredients:

image

  • 1 cup all purpose flour;
  • ½ cup vegetable oil;
  • ½ cup powdered or icing sugar;
  • 2 eggs;
  • 3 slices of canned pineapple or ½ cup chunky pineapple puree;
  • 1/3 teaspoon baking powder;
  • A pinch of soda bicarbonate;
  • A pinch of salt;
  • Pineapple flavour 2-3 drops;
  • Yellow food colour (optional).

For the glaze:

  • ½ cup icing sugar, sieved;
  • 1 tablespoon lemon juice.

Method:

  • To make the pineapple puree, pulse the pineapple slices in your food processor. We do not want a fine paste, but want some very fine pineapple chunks. If you do not want to use canned pineapple, use fresh cut pineapple. The final puree will measure ½ cup.
  • Sieve together all purpose flour, icing sugar, baking powder and soda bicarbonate; keep aside.
  • In a bowl add vegetable oil and the 2 eggs, and whisk together till well-combined (about 2 minutes).
  • Now add to the wet mixture, food colour and pineapple flavour.
  • Incorporate the wet mixture into your dry mixture. Your batter will look little dry at this stage.
  • Now add the pineapple puree into your cake batter and mix with a spatula. Your batter will be now of perfect consistency.
  • Line a cake loaf tin, with parchment paper, and pour the mixture. Even out the top with your spatula.
  • Bake this cake in a pre-heated oven, at 180 Celsius for 25 minutes.

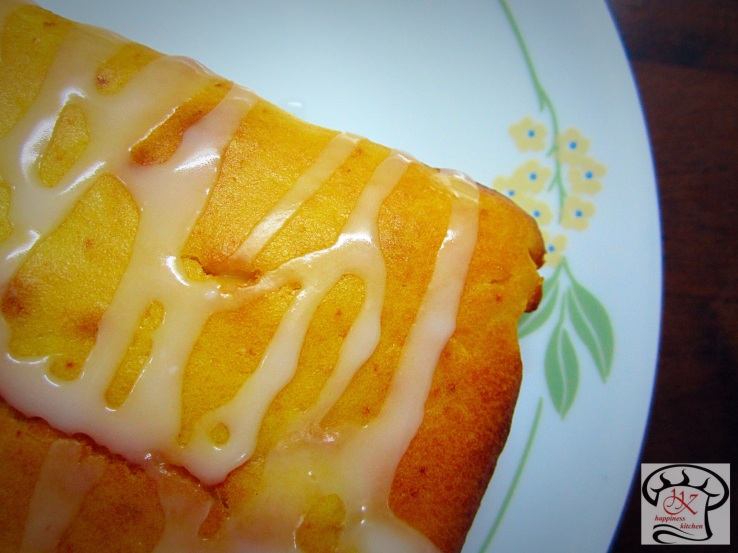
You can enjoy your cake as is, or you can go ahead and glaze it. And what’s better than to decorate a pineapple cake with a tangy and fresh lemon glaze!

image

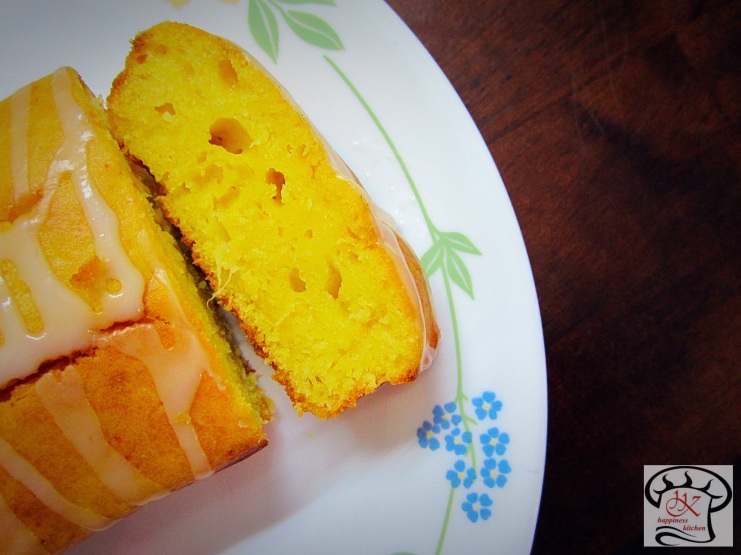
Let the cake sit till it cools down to room temperature. Make the lemon glaze by mixing the ingredients. Now gently spoon it over the cake and refrigerate it for 30 minutes and voila! Your awesomely yummy pineapple cake is ready.

image

Stay tuned for many easy recipe.
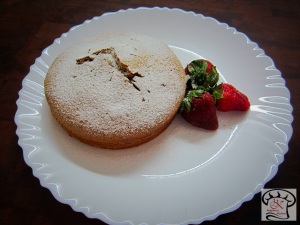
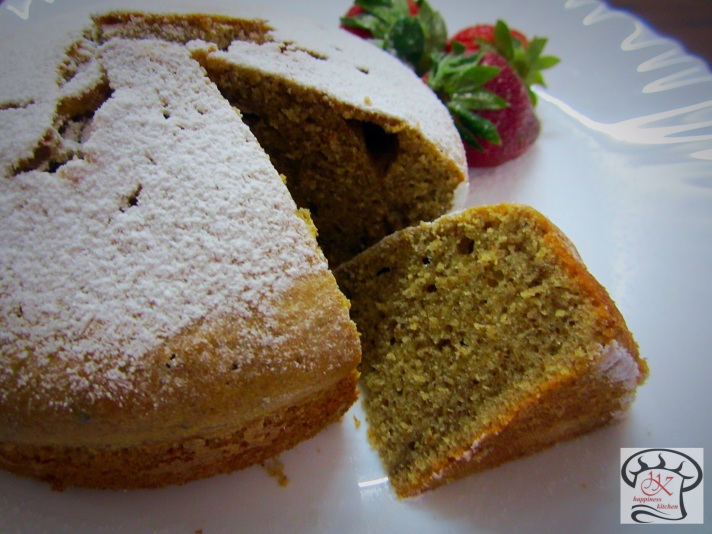
Coffee and walnut cake

image

Whenever I bake a cake, that 30-40 minute wait required for the baking process, seems unbearable and exciting. Imagine, getting to witness the transformation of an odd looking semi-solid mixture into a beautiful, soft and fluffy goodness!

Some months back, I was telling a sweet friend, about the joy and happiness that I get from baking. She was so happy that she encouraged me to share my recipes with you all and also started this blog for me. So, today, this cake recipe is dedicated to that awesome friend, may she always remains a sweet, bubbly and beautiful girl. J

This cake has got a lot of goodness, as it is made with walnuts, and reduced amount of all-purpose flour. Its perfect for a tea-time snack, and really easy to decorate and present.

The following recipe makes for around 300 gm cake.

Ingredients:

  • 2 eggs,
  • ½ cup vegetable oil,
  • ½ cup icing sugar; save around 1 tablespoon for dusting later,
  • 1 cup all-purpose flour,
  • ½ cup ground walnut,
  • ½ teaspoon baking powder,
  • ½ teaspoon cinnamon powder,
  • 3 tablespoon milk,
  • 1 teaspoon instant coffee powder,
  • A pinch of salt.

Method:

image

  • Beat egg, oil and sugar, till mixed properly.
  • Sift flour, baking powder and salt together. Now add the cinnamon powder and mix all dry ingredients together; keep aside.
  • Warm the milk and add the coffee into it and mix well.
  • Now gradually mix in the flour, then the ground walnut and the coffee mixture into the egg mixture, alternating the three ingredients.
  • Mix all ingredients well. I have used an egg whisk for all the mixing.
  • Now grease and line a six-inch baking tray and pour the mixture. Tap it to release any air bubble.
  • Bake this in a pre-heated oven at 180 degree Celsius for 20 minutes, or till the time a skewer inserted into the middle comes out clean.
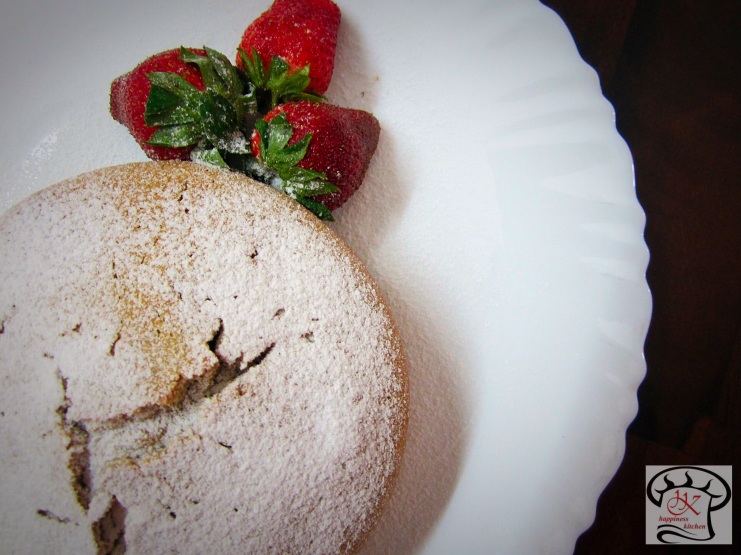
  • Once the cake cools down, sprinkle icing sugar; you can also use various stencil designs to decorate your cake.

Enjoy this goodness with a cup of evening tea.

image

Stay tuned for many more simple recipes.

Carrot cake (with less butter)

image

I believe that on some days you can totally indulge, especially if its your friend’s birthday. And what better gift can you arrange for a sweet friend than a rustic home-made cake!

I am crazy about baking and loved watching my mother bake an awesomely aromatic, soft and fluffy tea cake in a pressure cook. After marriage, I tried once or twice to bake a cake, however, it always ended in disasters; sometimes, the batter is too runny and sometimes the cake is burnt etc etc. But after a lot of trial and error, I somehow got the idea, and now try my hands at baking any type cakes, be it chocolate, vanilla, coffee, banana, and so on and so forth.

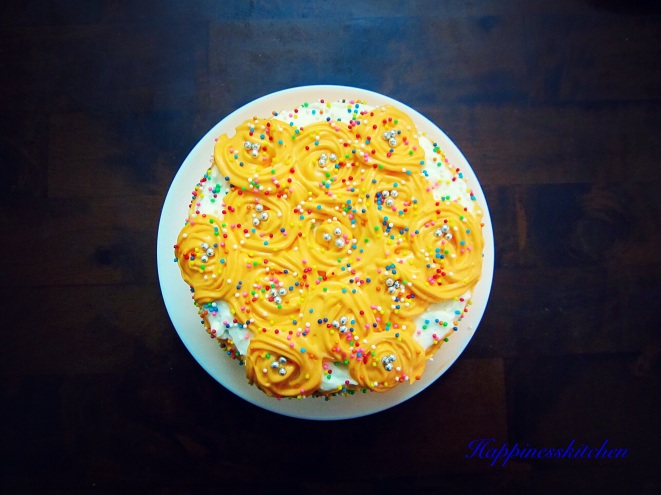
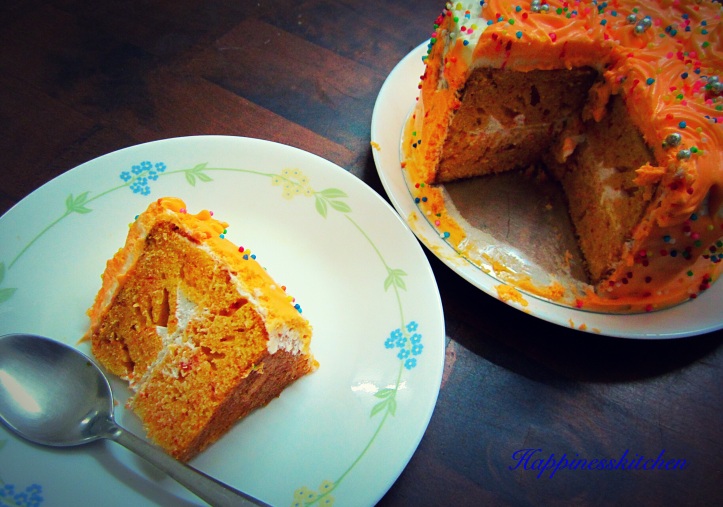
For this particular cake, however, I tried, for the first time, icing a cake. So, the icing design is, well, not a sight to behold (bear with me on this one and I promise I will improve). But the cake tastes so good; moreover, its home-made with good quality ingredients and without the use of extreme amounts of butter or sugar. Its my tried and tested Carrot cake recipe, and you can never go wrong with it, whether you want to do icing or just enjoy it as is.

Here, I have used a six inch diameter cake tin to make two separate carrot cakes. I have also added home-made buttermilk into the cakes; buttermilk makes cakes amazingly fluffy and also helps in reducing the fat content. The finished cake will serve 6-7 persons.

Ingredients:

For ONE carrot cake:

  • Two eggs,
  • 1 cup all-purpose flour,
  • 1/2 cup refined oil or melted butter,
  • 1/2 cup and 2 tablespoon powdered sugar,
  • Around 3 tablespoon buttermilk (to make the buttermilk, take 3 tablespoon cold milk and add 1 teaspoon vinegar into it. Do not stir, let it sit for 10 minutes. The milk will thicken and you can use it in your cake),
  • Half cup very finely grated carrots; do NOT squeeze out the juice,
  • 1/3 teaspoon baking powder.

For icing: (I have used the available brands at my local grocer)

  • 150 gms or 2/3 of a packet of Philadelphia cream cheese,
  • 2/3 cup of powdered sugar,
  • 130 ml or 2/3 of a packet of Amul whipping cream

Method:

Preparing the cakes: I have made two separate cakes; the following method shows how to make one cake.

image

  • Beat the butter and the sugar till pale yellow in colour,
  • Add eggs and beat again,
  • Add the carrots and mix with a spatula,
  • Now add the sifted flour and baking powder, alternating it with the buttermilk, and mix,
  • Grease and line your cake tin, both the bottom and the sides, with parchment paper and bake the cake at a 180 degree Celsius  (always pre heat the oven) for 26-28 minutes (keep checking, as every oven is different).
  • Keep the cakes aside to cool.

Icing:

  • Beat cream cheese (softened at room temp) and sugar till light in colour (it won’t be very fluffy)
  • Beat the refrigerated whipping cream, using a chilled whip and a chilled bowl, till stiff peaks,
  • Fold in the whipped cream into the cream cheese; if not using immediately, keep it refrigerated. You can add food colour, according to your choice of design;

Also, please feel free to use any icing recipe, as per your taste; however, the taste of an carrot cake gets enhanced many times, if the icing is of cream cheese.

Prep the cakes for icing:

image

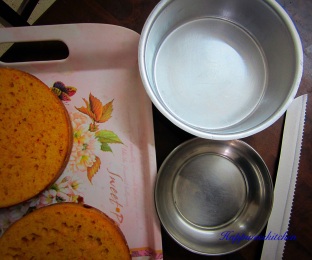
  1. Here I am sharing an easy tip to level your cakes, without using a cake leveller.
  2. Use a bowl or a plate that fits into your cake tin; the bowl should be as deep as the dome of the cake that you want to discard.
  3. Now place the inverted bowl in your cake tin and then place your cake on top. The dome of the cake will rise above the brim of your tin; now use a large serrated knife, rest the knife right on the brim of the tin, to very gently cut away the top of the cake. And voilà, you have a perfectly levelled cake without using any cake leveller!
  4. Put some icing in between the cakes; invert the top cake, so that the smooth part stays on top,
  5. Keep it refrigerated for half an hour to set.
  6. Now, decorate your cake as per your choice
  7. Refrigerate for at least 5-6 hours or overnight and then enjoy the soft fluffy goodness!

I am not that much into decorating a cake, although, I am trying to learn. But hey, home-made meaning rustic, but with lot of love and care.

imageHope you give it a try!

Stay tuned for many more tried and tasted recipes.